Adding Comms To My Stilo ST5 Helmet
One of the best features of Stilo helmets is how adjustable they are. Many of the internal cushions come in different sizes to provide you with a custom fit at an affordable price. These are super easy to remove and replace as well. The ST5 also comes with ports on either side of the helmet to add comms or hydration. After reading several articles with HPDE instructors complaining about their comms units getting beat up during instruction, I decided to install my own as part of my track prep.
I ordered the Stilo Helmet Wiring Kit that works with my ST5. Unfortunately, it didn’t come with any installation instructions and I couldn’t find any online either. So many times I depend on YouTube to show me how to do something, it felt like a real challenge to have to figure it out myself.
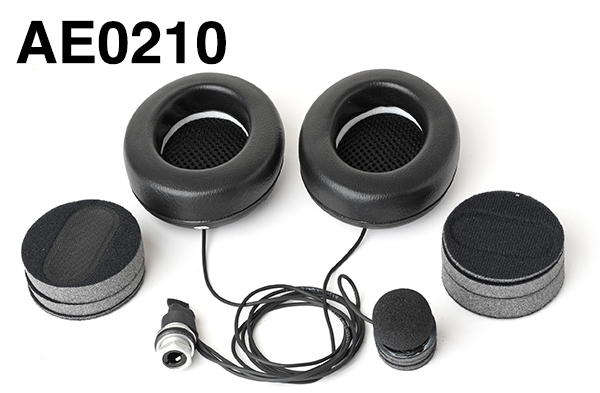
Here are the steps I took to add the AE0210 radio kit to my ST5 helmet:
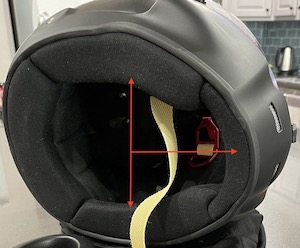 The first step was to remove the front and two side cushions from the helmet. I found it easier to start with the side cushions and then remove the front one. When pulling out the side cushions you need to work the chin straps back through the slots in each cushion.
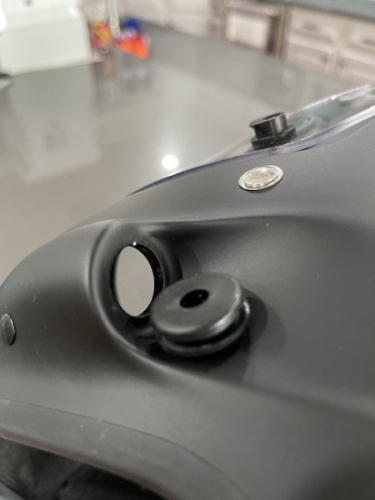
The next step was to remove the plug to make room for the comms port. You can pick either side of the helmet. I picked the left side port as that is where my connection point is for my Speedcom intercom system is in my car. I was able to pop the rubber plug out by pushing on it from inside the helmet.
I inserted the comms port inside the helmet and held it in place while I used a socket wrench to tighten the bolts on the port. I am a nut for keeping wiring neat and out of site so I paid particular attention to how the wiring would feed to the mic and ear cups once it was locked in place.
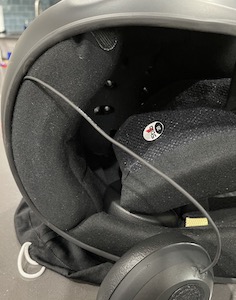
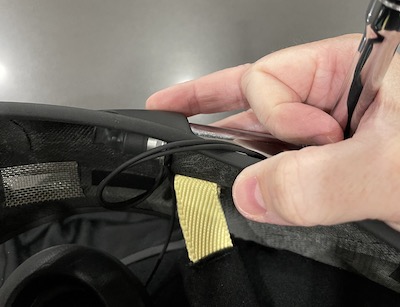
I ran the wiring for the right side ear cup around the back of the helmet. The wire tucked neatly into the small lip that runs around the base of the helmet. There was no need to remove the rear cushion, just a little pressure from a finger and the wire disappeared. Then I inserted the right cushion with the speaker back in place.

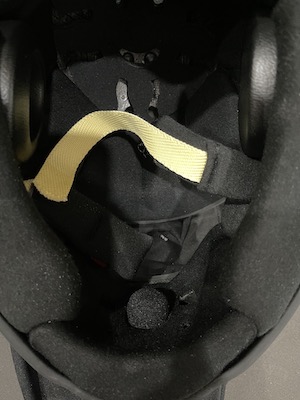
The next step was adding the microphone to the front cushion. Stilo makes this easy as well. The cushion is pre-fabricated to accommodate the mic so it is as simple as popping out the place holder and adding the mic. There are even three velcro circles for the back of the mic so you can adjust the depth for the best fit. I ended up using all three spacers.
Getting the cushions back in was the hardest part of the install as they fit snuggly together. I had to make several attempts in order to get the front cushion to wedge between the two side cushions. In the end it was easier to put the helmet on and pull on the front cushion through the shield to get in firmly in place.
The final step was to hook it up to my Speedcom and test it out. It worked perfectly!

