Installing Wheel Studs
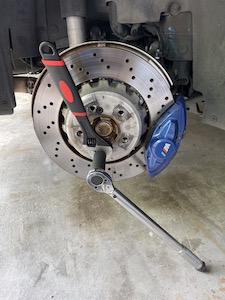
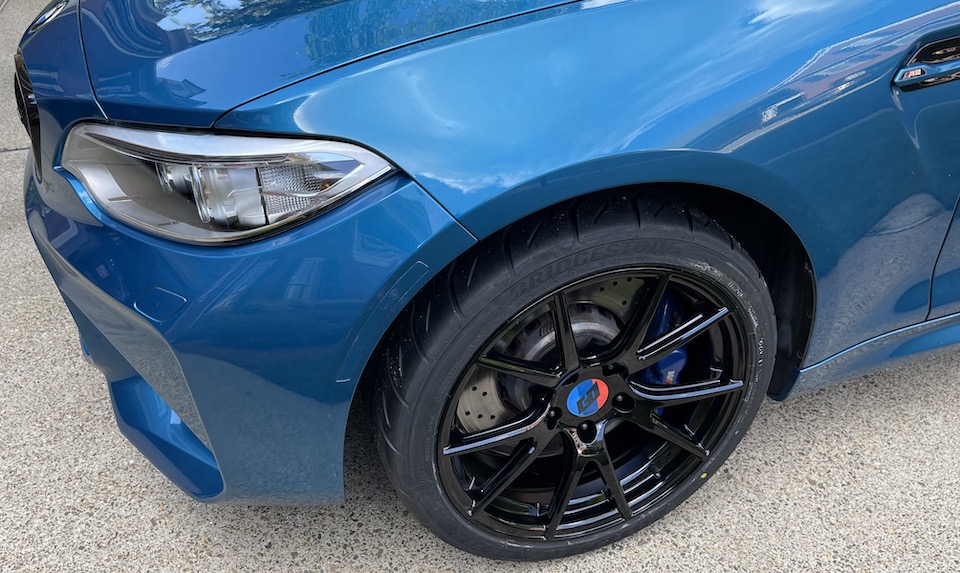
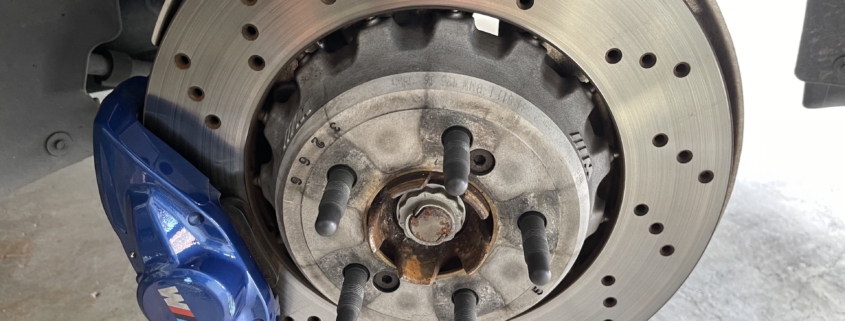
When I ordered the square set of Bimmerworld TA5R wheels for use when taking my M2 to the track, I also ordered a 73mm premium wheel stud kit to make changing the wheels a bit easier. The studs mount into the wheels where you would normal thread the lug nuts. The advantage at the track is the studs hold the wheel in place while you tighten down the nuts. This is very helpful when you are working on your car by yourself in the paddock.

Here are the tools I needed for installing the wheel studs:
- Adjustable Wrench
- Toque Wrench
- 17mm Deep Socket
- 22mm Deep Socket
- Brake Cleaner
- Wire brush
- Compressed Air
I have never done this before so like most things, I looked for a YouTube video to help guide me through this for the first time. I found a great video by AutoPilot that shows how to install the studs.
Here are a few tips for installing wheel studs:
- When I removed the OEM wheels, I sprayed the lug nut holes with brake cleaner and while that soaked in, I took the opportunity to wash each wheel.
- The video recommends a wire brush to clean the treads. I went into my gun cleaning kit and found a wire barrel brush that would go all the way into the treads and back out to get them good and clean.
- I then blew out each tread with compressed air and while they dried out I removed the next wheel.
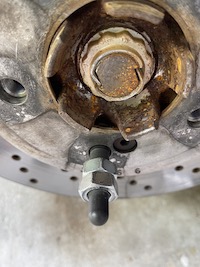
- The loctite that is on the studs will give you a false sense of tightness when handing tightening each stud. After I got the studs as tight as I could by hand I put on the two nuts and tightened those together. Then used the torque wrench on the outside nut to finish threading the stud until the nut slipped a bit. Then I used the double nut technique to torque the stud to the 75ft/lbs recommended by Bimmerworld.
- Be careful reversing the double nut as it is easy to loosen the stud that you just torqued down.
Being new to this, I am always impressed with myself when I put the car back on the ground, go for a test drive and everything still works!


